
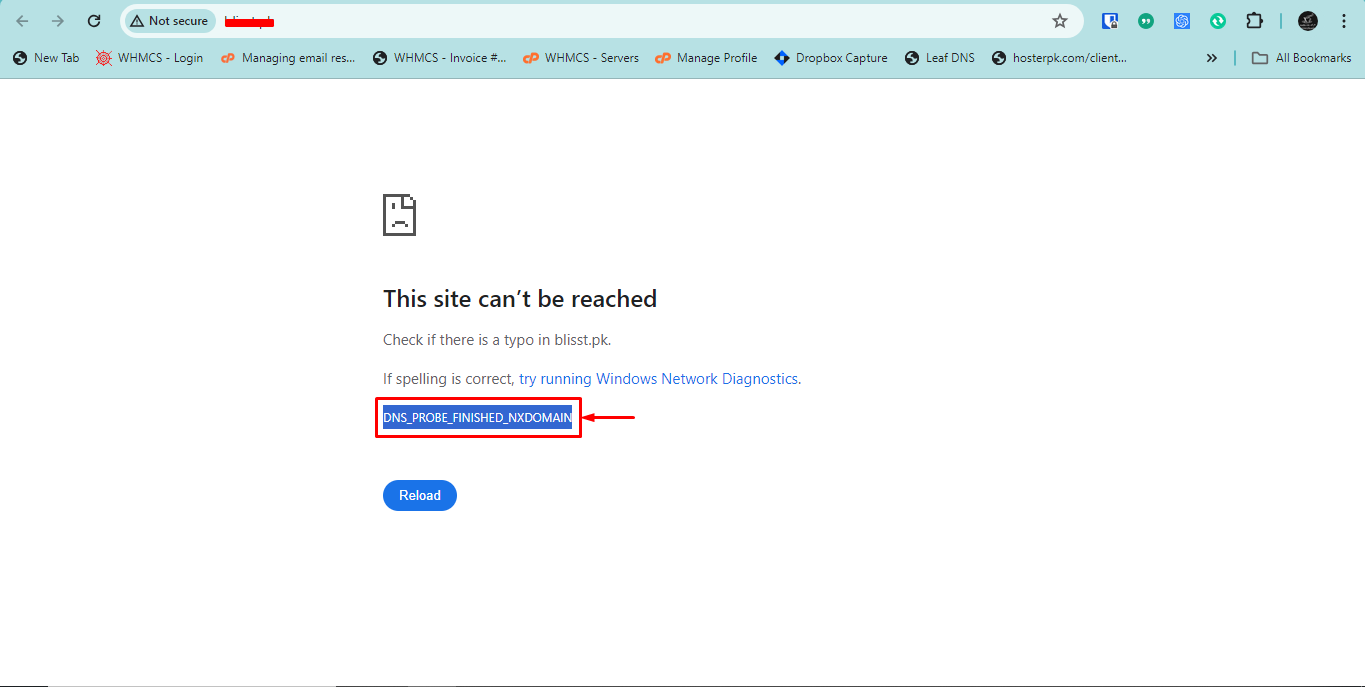
How Quickly and Easy to Fix the DNS_PROBE_FINISHED_NXDOMAIN Error
The DNS_PROBE_FINISHED_NXDOMAIN error occurs when your browser cannot find the IP address for a website due to DNS (Domain Name System) configuration issues or non-existent domain names. Here is a comprehensive guide to troubleshoot and resolve this common issue.
Causes of DNS_PROBE_FINISHED_NXDOMAIN Error:
- Incorrect DNS Settings: Misconfigured DNS server settings.
- Expired Domain: Domain name that has expired or is not registered.
- Network Connectivity Issues: Problems with your internet connection.
- Firewall or Antivirus Restrictions: Security software blocking access.
- Browser Cache Issues: Cached data causing conflicts.
- Typo in URL: Incorrectly typed domain name.
- Third-Party Tools: VPNs or proxy settings interfering with connections.
Step-by-Step Troubleshooting Guide:
1. Check Internet Connection
- Ensure your device is connected to the internet.
- Restart your modem and router to refresh the connection.
2. Clear DNS Cache
Clearing the DNS cache can resolve conflicts with outdated DNS records.
-
Windows:
- Open Command Prompt as an administrator.
- Type '
ipconfig /flushdns'and press Enter.
-
Mac:
- Open Terminal.
- Type '
sudo killall -HUP mDNSResponder'and press Enter.
3. Release and Renew IP Address
Refreshing your IP address can help resolve DNS issues.
-
Windows:
- Open Command Prompt as an administrator.
- Type '
ipconfig /release'and press Enter. - Type '
ipconfig /renew'and press Enter.
-
Mac:
- Open Terminal.
- Type '
sudo ifconfig en0 down'and press Enter. - Type '
sudo ifconfig en0 up'and press Enter.
4. Change DNS Server
Switch to a more reliable DNS server like Google DNS or Cloudflare.
-
Google DNS:
- Primary:
8.8.8.8 - Secondary:
8.8.4.4
- Primary:
-
Cloudflare:
- Primary:
1.1.1.1 - Secondary:
1.0.0.1
- Primary:
-
Windows:
- Go to Control Panel > Network and Sharing Center.
- Click on your network connection.
- Select Properties.
- Double-click on Internet Protocol Version 4 (TCP/IPv4).
- Select "Use the following DNS server addresses" and enter the preferred and alternate DNS addresses.
- Click OK.
-
Mac:
- Go to System Preferences > Network.
- Select your network connection and click Advanced.
- Go to the DNS tab.
- Click the + button and enter the new DNS addresses.
- Click OK and Apply.
5. Check the Hosts File
Ensure there are no incorrect entries in the hosts file.
-
Windows:
- Navigate to '
C:\Windows\System32\drivers\etc'. - Open the
hostsfile with a text editor. - Ensure there are no incorrect entries related to the website you are trying to access.
- Navigate to '
-
Mac:
- Open Terminal.
- Type '
sudo nano /etc/hosts'and press Enter. - Verify the entries and make sure there are no incorrect mappings.
6. Disable VPN and Antivirus Temporarily
- Disable any VPN or proxy settings that might be interfering with the connection.
- Temporarily disable your antivirus or firewall and check if the issue resolves.
7. Reset Chrome Flags
Resetting Chrome flags can help if experimental features are causing issues.
- Open Chrome and type '
chrome://flags/'in the address bar. - Click "Reset all to default."
8. Clear Browser Cache and Cookies
Clearing your browser's cache and cookies can resolve conflicts caused by old data.
- Open your browser settings.
- Find the option to clear browsing data.
- Select cache and cookies, then click Clear Data.
Additional Tips:
- Update Network Drivers: Ensure your network drivers are up to date.
- Restart DNS Client Service: Restart the DNS client service on your computer.
- Windows: Open Command Prompt as an administrator, type '
net stop dnscache'and press Enter, then type 'net start dnscache'and press Enter.
- Windows: Open Command Prompt as an administrator, type '
- Contact ISP: If the issue persists, contact your Internet Service Provider for further assistance.
By following these steps, you should be able to resolve the DNS_PROBE_FINISHED_NXDOMAIN error and restore your browsing experience.
If you encounter any issues, please open a support ticket or a LiveChat session using the icon located at the bottom right of the screen.
For more detailed guides on related topics, check out these articles: