
This tutorial describes how to add your intoHOST Basic or Advanced email in Outlook 2016.
- Open Outlook: Launch Outlook 2016 on your computer.
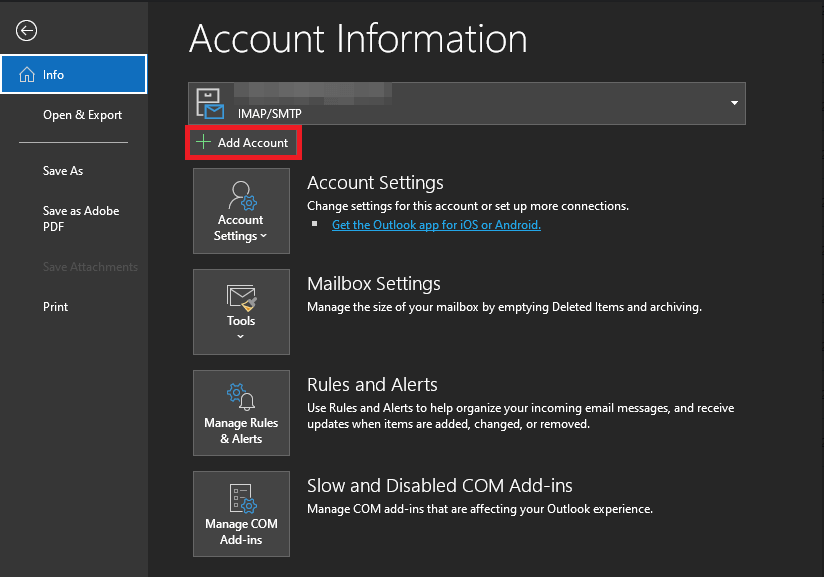
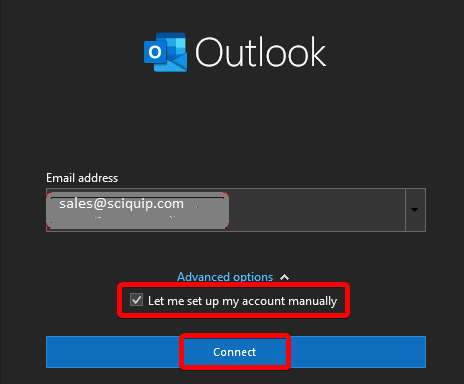
- Add an email account: Go to the “File” tab and click on “Add Account” to start the account setup process
3. Manual setup: In the “Add Account” window, select the option “Manual setup or additional server types” and click “Next.”
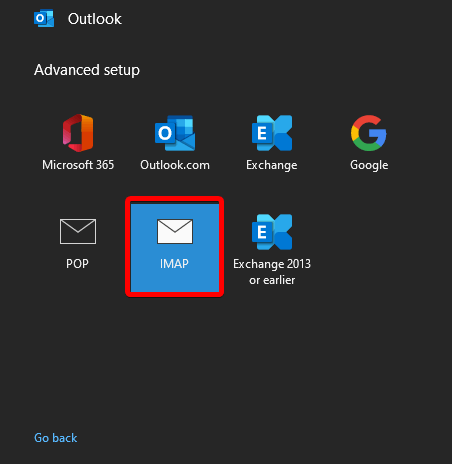
4. Choose email service: Choose the email service you are using. In this case, select “POP or IMAP” and click “Next.”
5. On the IMAP Account Settings screen, enter your account details by following the example shown:
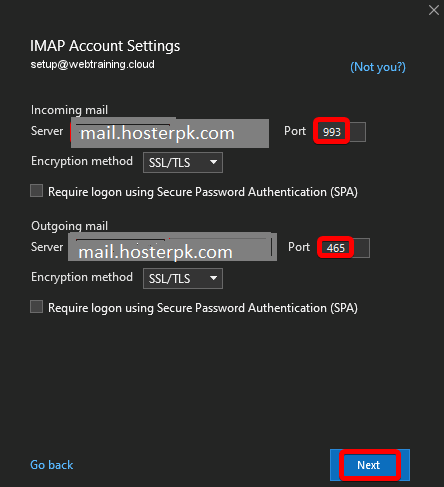
NOTE: Be sure to leave the Require logon using Secure Password Authentication (SPA) options unchecked. If these boxes are checked, your connection will not work properly.
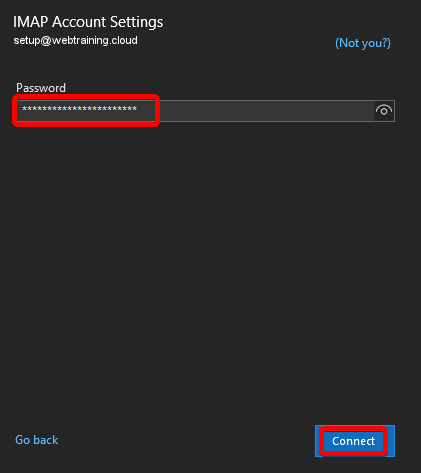
6. Next, you’ll be prompted to enter the password for the email account, then click Connect.
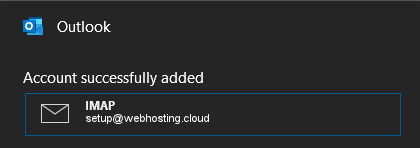
When you see a message like the one that appears below, the account has been set up successfully:
Default Email Account Settings (intoHOST Basic/Advanced Email)
Secure SSL/TLS Settings (Recommended)
| Username: | Enter your full email address |
| Password: | Enter the password of your email account. |
| Incoming Server: | mail.intoHOST.com
|
| Outgoing Server: | mail.intoHOST.com
|
| IMAP, POP3, and SMTP require authentication. | |
8. Click “OK” to save the settings and return to the previous window.
9. Test Account Settings: Click on the “Test Account Settings” button to verify that Outlook can successfully connect to the email server. It will check both incoming and outgoing mail settings.
10. Finish: If the test is successful, click “Next” and then “Finish” to complete the setup process.
Outlook 2016 should now be configured with your intoHOST email account. You can start using Outlook to send and receive emails from your intoHOST email address.