
cPanel's WordPress Toolkit is a set of tools and features that allows you to easily install and manage your WordPress websites from within your cPanel account.
cPanel's WordPress Toolkit provides many features to help users manage their WordPress sites. It can be a powerful tool for users to easily manage their site and keep it updated, secure, and optimized - especially for those who need to become more familiar with the technical part of WordPress.
To install WordPress using cPanel's WordPress Toolkit, follow the steps below.
-
Log in to your cPanel account.
-
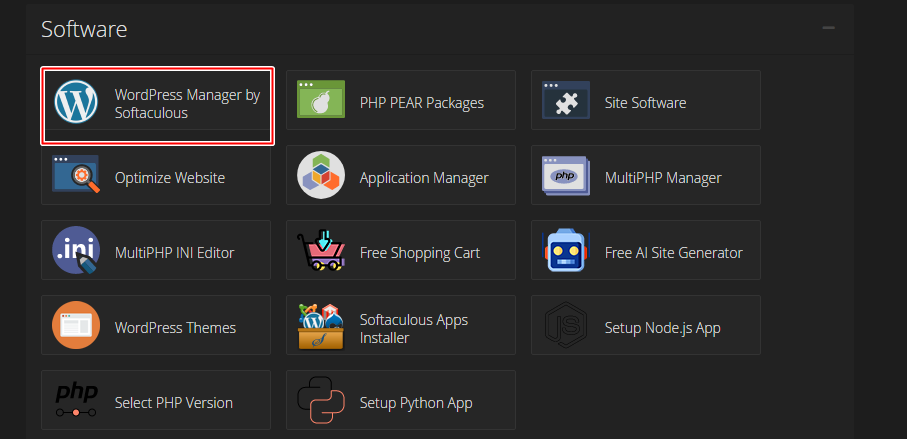
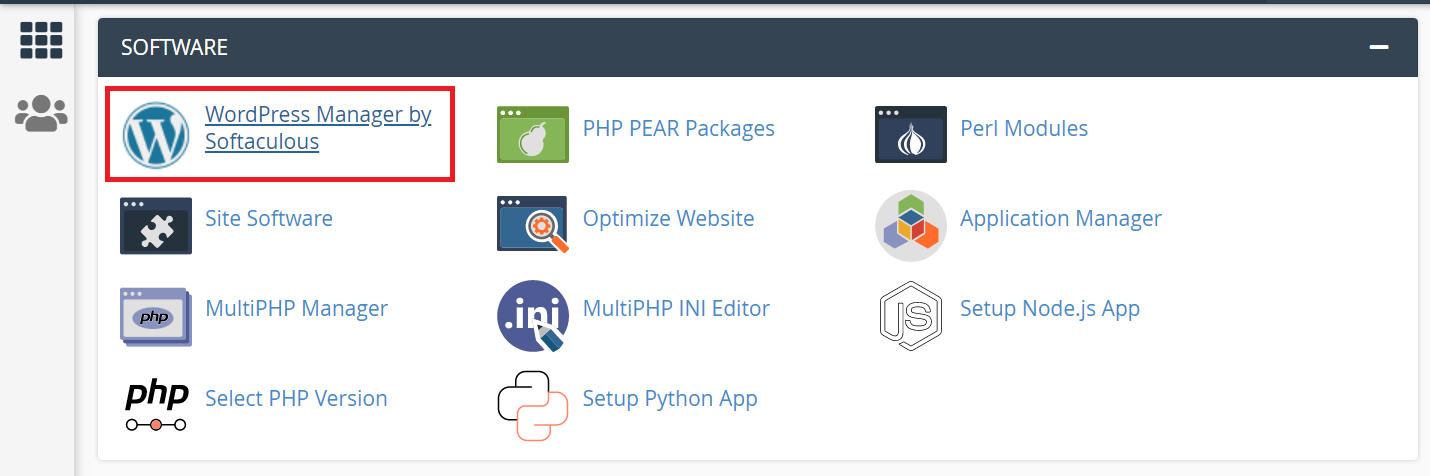
In the "Software" section, click on "WordPress Toolkit".
-
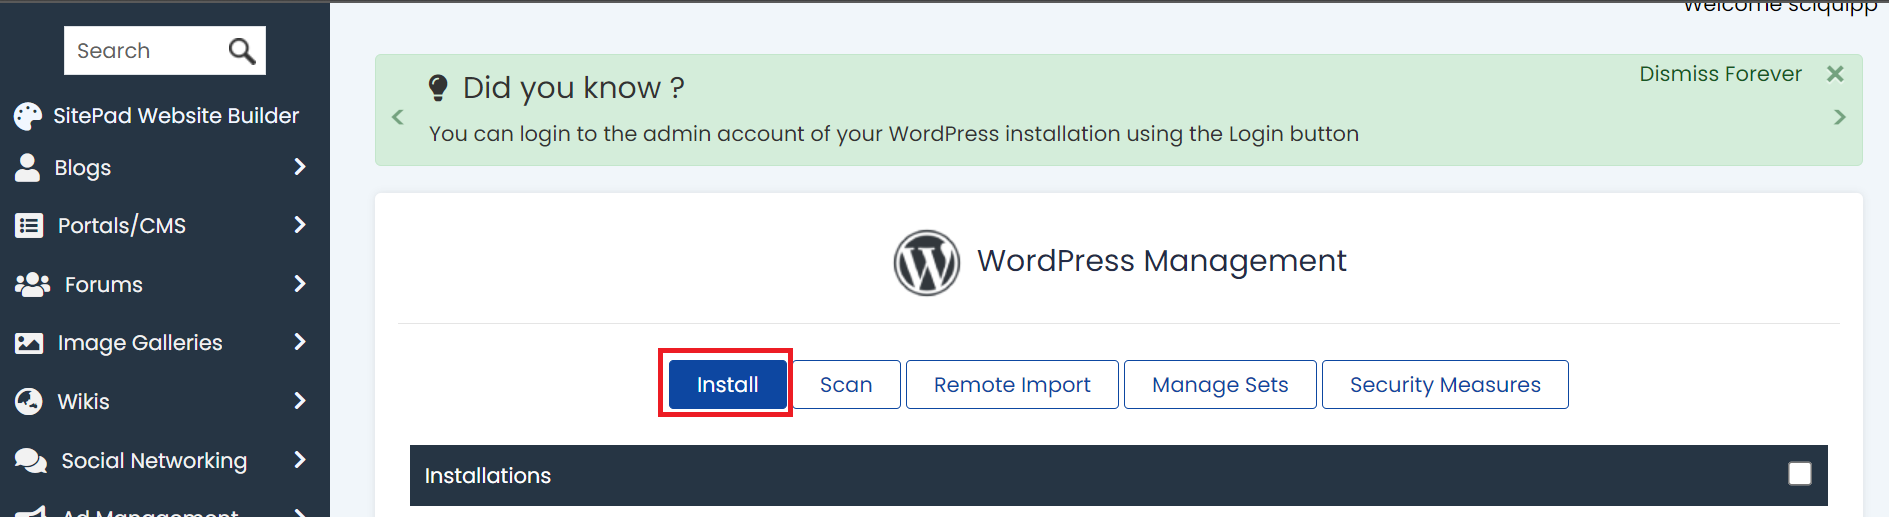
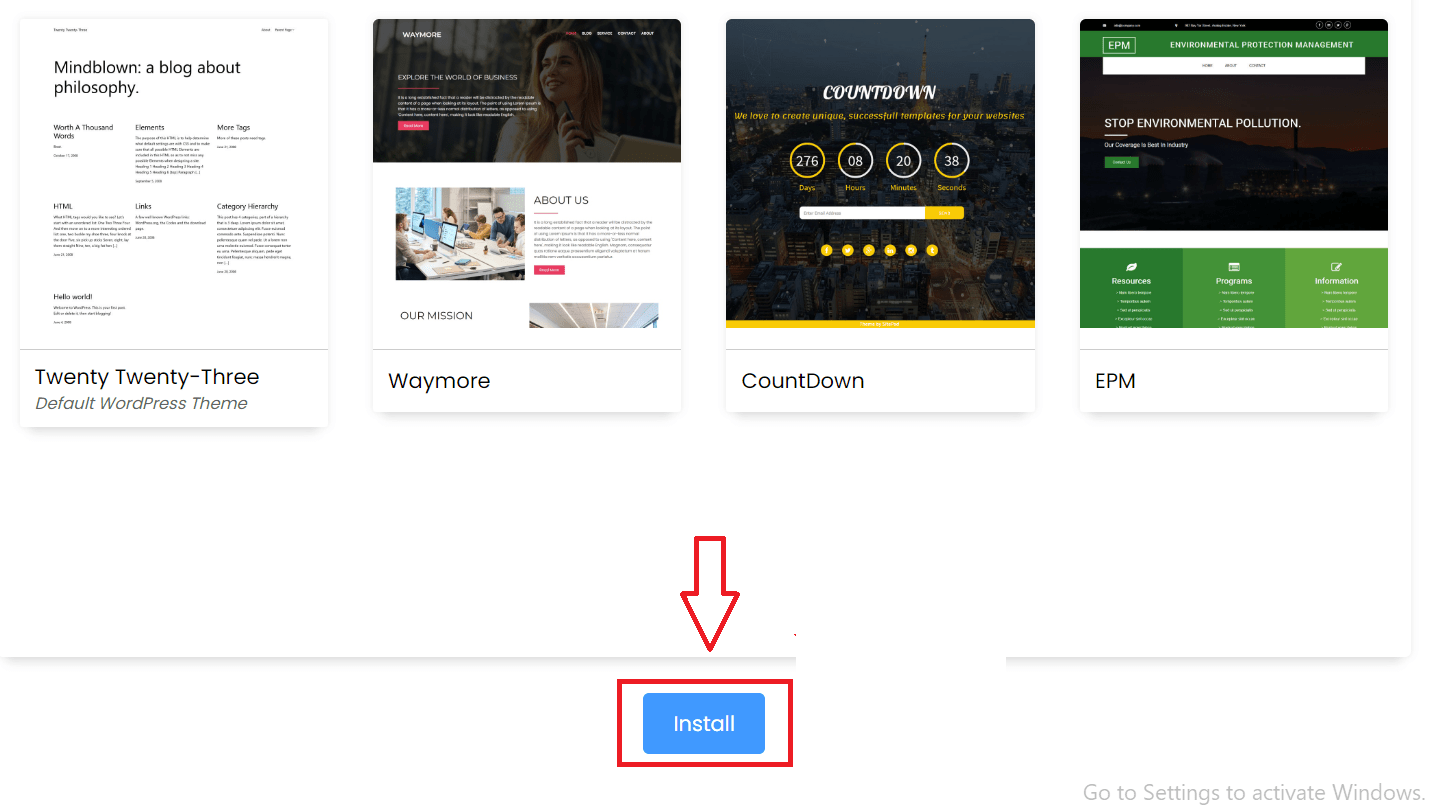
Click on the "Install" button in the top-right corner.
-
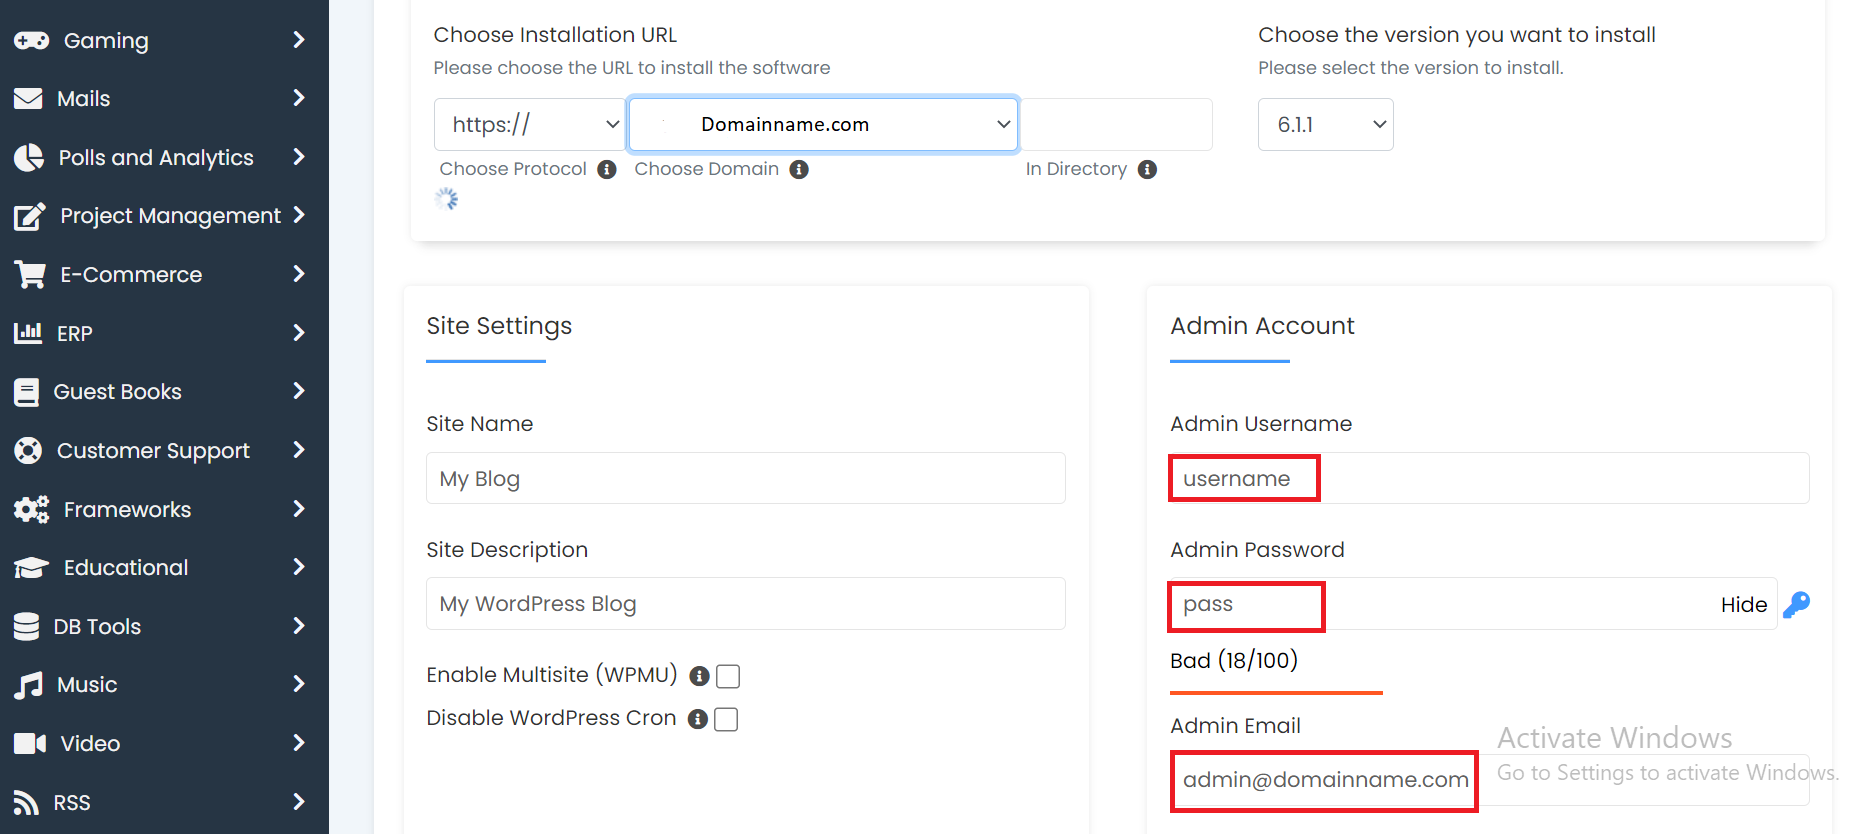
Select the domain name where you want to install WordPress.
-
Fill in the required information, such as the site title, admin username and password, and email address.
-
cPanel's WordPress Toolkit offers a variety of settings and options for managing WordPress sites. Some of the key settings available include:
-
-
- Site Management: Allows users to manage multiple WordPress sites from a single cPanel account, including options to clone and migrate sites, manage site settings, and access site logs.
- Automatic Updates: Allows users to update WordPress and plugins to the latest version, with the option to update manually.
- Theme and Plugin Management: Allows users to install, activate, deactivate, and delete themes and plugins, as well as manage plugin and theme settings.
- Security Management: Includes options to enable security features such as brute force protection, malware scanning, and password protection for the wp-admin directory.
- Backup and Restore: Allows users to create and restore backups of their WordPress sites, and view the backup logs.
- Advanced Troubleshooting: Includes options for troubleshooting common issues, viewing error logs, and accessing the site's file manager.
- Site Health: Allows users to check the site's health status and identify potential issues or errors.
- Settings: Includes options for changing the site's language, time zone, and permalink structure, as well as for configuring the WordPress cron job.
- Optimization: Includes options to optimize your website performance, like caching, database optimization and file compression.
- SEO: Includes options to improve your website SEO, like managing redirects, sitemaps, SEO analysis and more.
-
-
Click on the "Install" button.
-
Wait for the installation process to complete.
-
Once the installation is complete, you will be redirected to a page with a link to your newly installed WordPress site. In addition, you will receive a message indicating that the installation was successful.
-
Log in to your new WordPress site using the admin username and password you provided during installation.
Please ensure enough space and a PHP version compatible with WordPress installation. Also, ensure you are logged in as a user with the correct permissions to install software on the server.
[embed]https://www.youtube.com/watch?v=o2bUGD1qrjA[/embed]