
How to Manually Install WordPress Using cPanel
Installing WordPress manually through cPanel is an excellent way to learn about website management and get a deeper understanding of how WordPress works. Here's a straightforward, step-by-step guide to help you install WordPress on your hosting account using cPanel.
Info! Ensure you have access to your hosting account and cPanel. This guide is tailored for users of cPanel, the most popular hosting control panel.
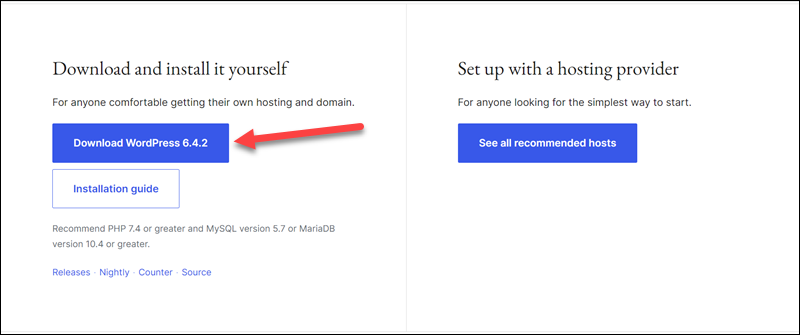
Step 1: Download WordPress
- Go to the official WordPress website at wordpress.org.
- Click the "Get WordPress" button, then download the latest version of WordPress as a ZIP file.
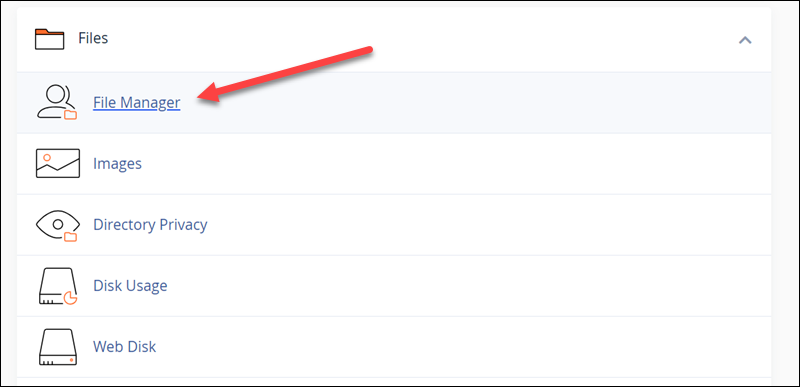
Step 2: Upload WordPress to Your Hosting Account
- Log into your hosting account and access your cPanel.
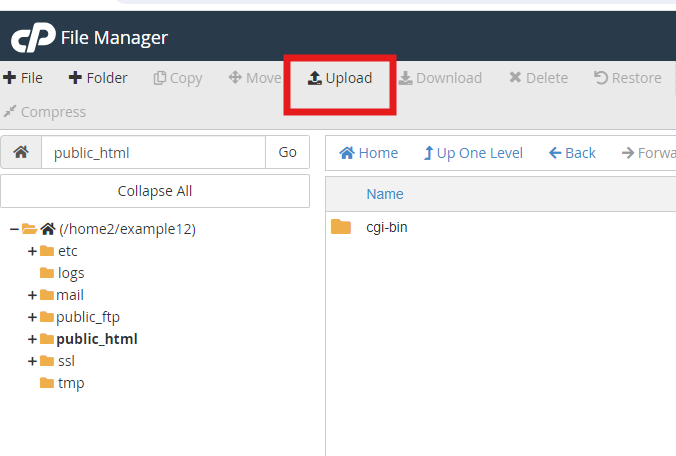
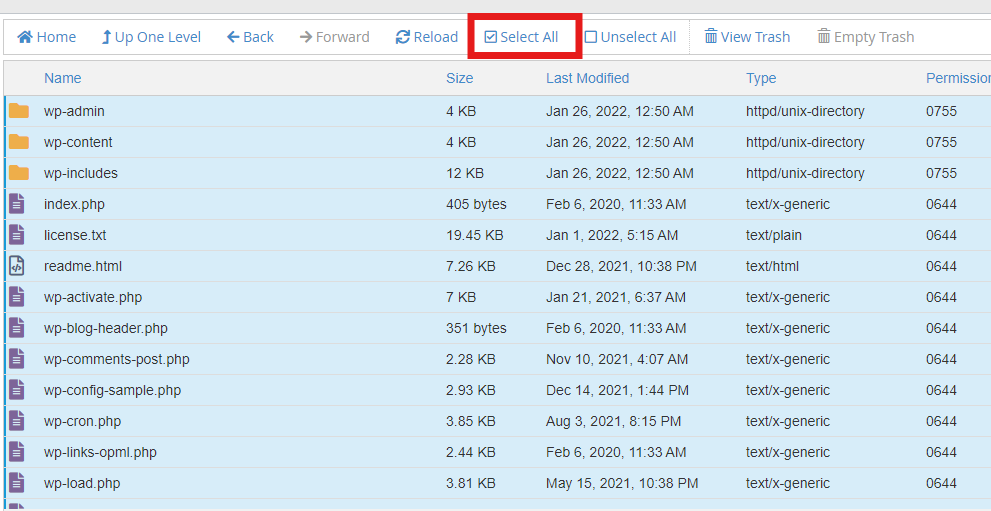
- Find and open the File Manager, then navigate to the
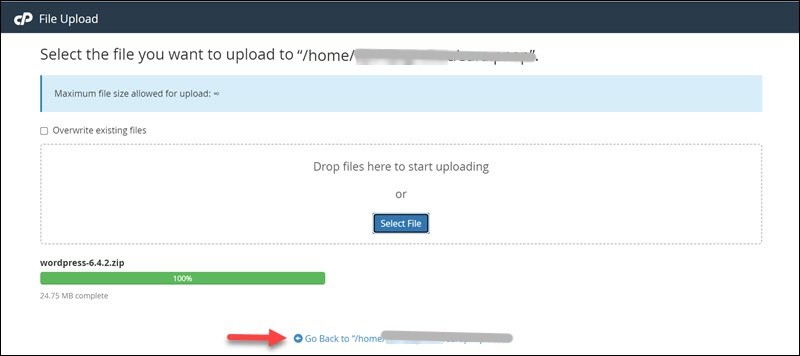
public_htmldirectory or a subdirectory if you're installing WordPress in a specific folder. - Click on Upload, select the WordPress ZIP file you downloaded, and then start the upload.
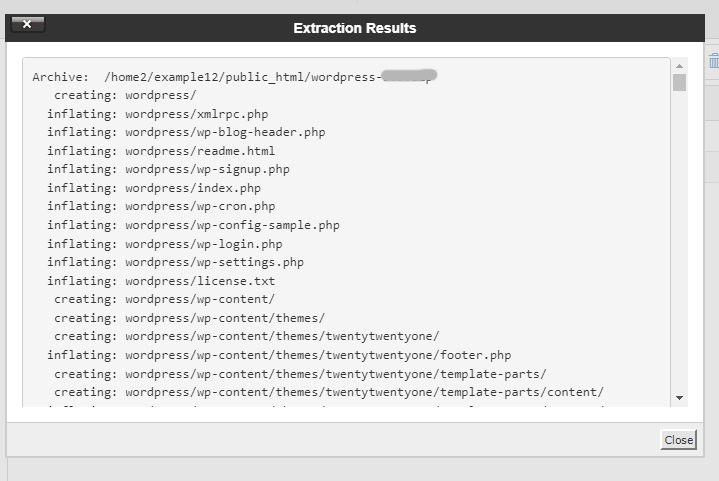
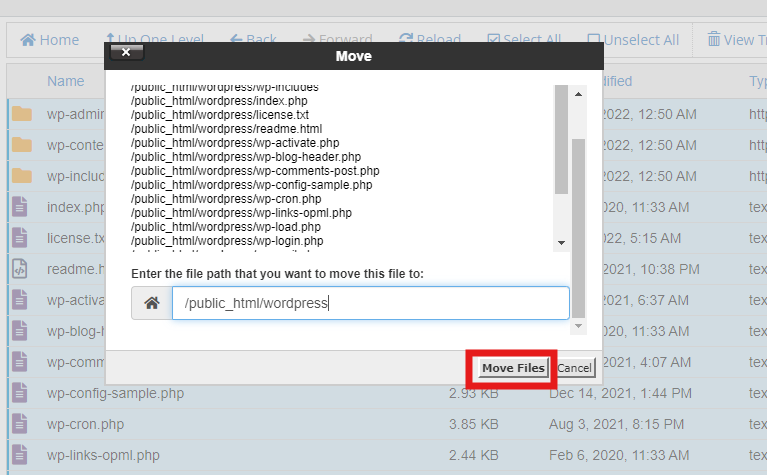
- Once the upload is complete, return to the File Manager, locate the uploaded ZIP file, and extract it. Ensure the extracted files are in the desired directory (e.g.,
public_htmlor a specific subfolder).
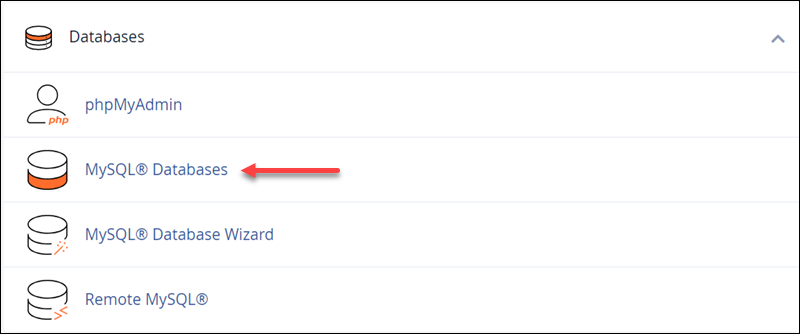
Step 3: Create a MySQL Database and User
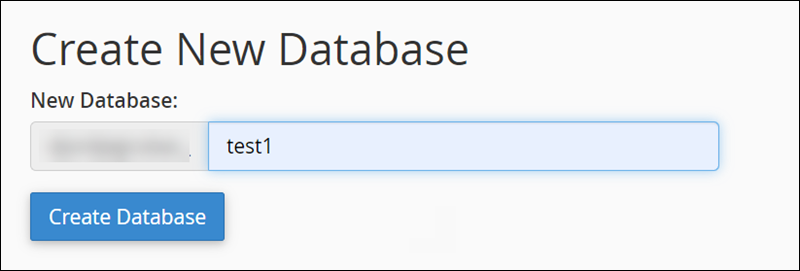
- Still in cPanel, scroll to the Databases section and click on MySQL Database Wizard.
- Step through the wizard to create a new database. Remember to note the database name for later use.
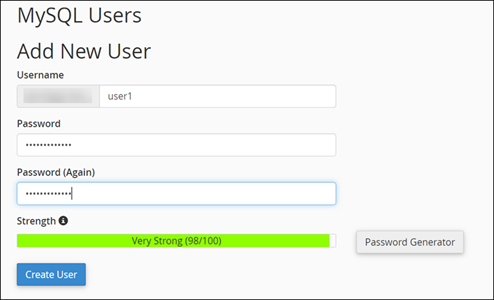
- Create a new database user and assign a strong password. Make sure to note down the username and password.
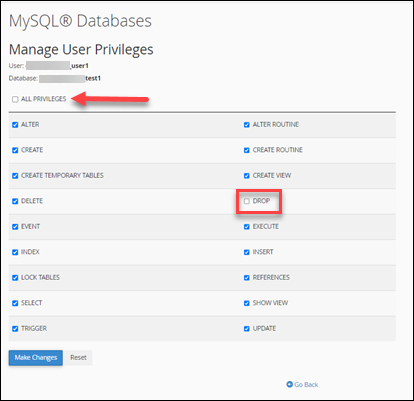
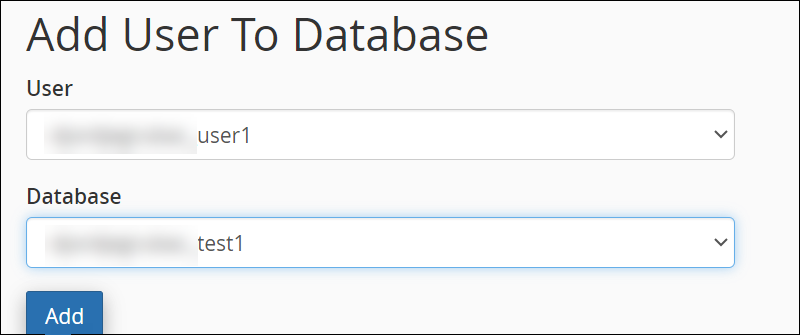
- Add the user to the database and grant all privileges.
Step 4: Configure wp-config.php
- Back in the File Manager, locate the
wp-config-sample.phpfile within the WordPress files. - Rename this file to
wp-config.php. - Edit the
wp-config.phpfile to input your database details under the MySQL settings section:DB_NAME- the name of the database you created.DB_USER- the username you created.DB_PASSWORD- the password for the database user.DB_HOSTtypically remains aslocalhostunless specified otherwise by your host.
- Save your changes.
Step 5: Run the Installation Script
- In your web browser, navigate to your domain (e.g.,
yourdomain.com) or wherever you uploaded WordPress. - If the files are correctly placed, you should be greeted by the WordPress installation page.
- Follow the prompts to choose your language, set up your site title, WordPress admin username, password, and your email.
- Click Install WordPress.
Step 6: Complete the Installation
- Once WordPress is installed, you'll see a success message and can log in with your new admin credentials.
Step 7: Secure Your Installation
- Adjust directory permissions: Directories should be set to 755 and files to 644.
- Consider adding security plugins like Wordfence or iThemes Security.
- Regularly update WordPress, themes, and plugins.
Success! Congratulations, you have successfully installed WordPress manually using cPanel!
Need Help?
If you encounter any issues, please open a support ticket here or use the LiveChat feature on our website for immediate assistance. Happy WordPressing!